
Last updated October 16, 2026
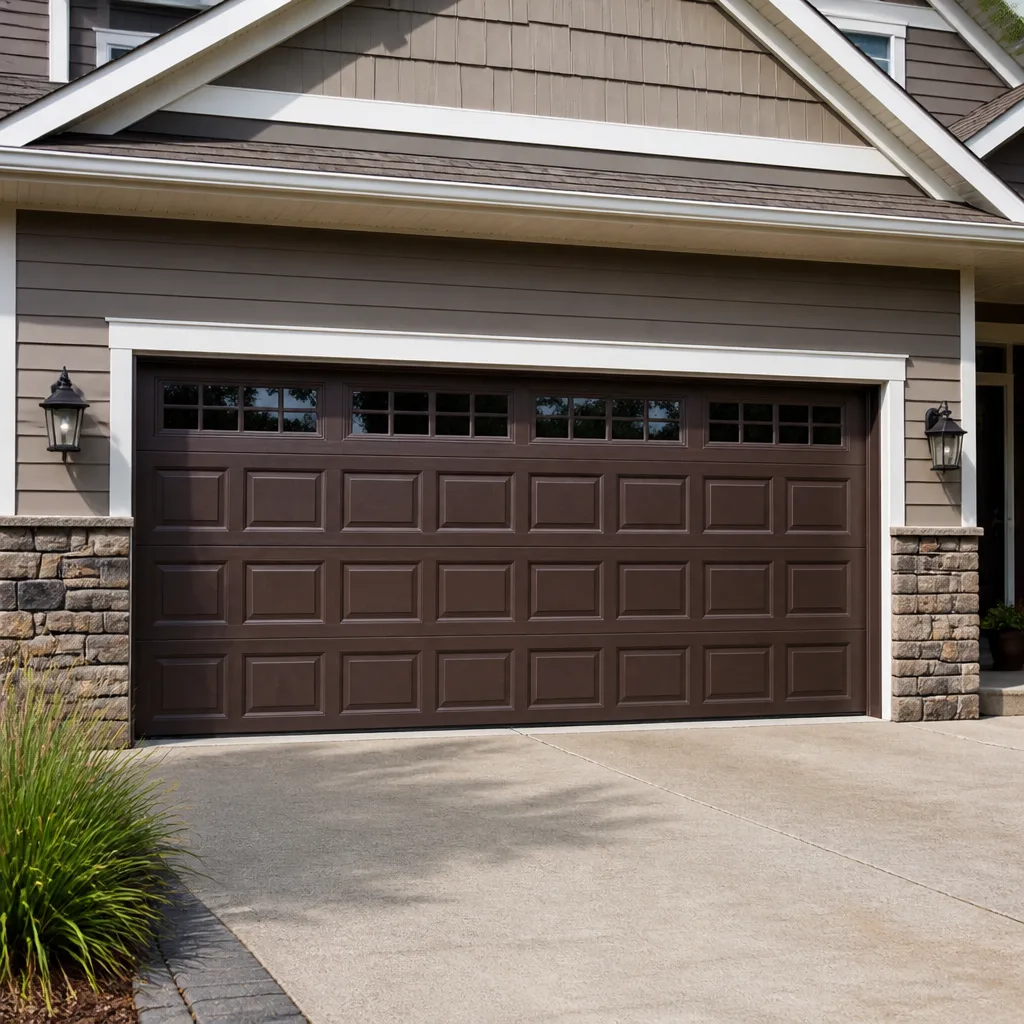 Raised-panel steel
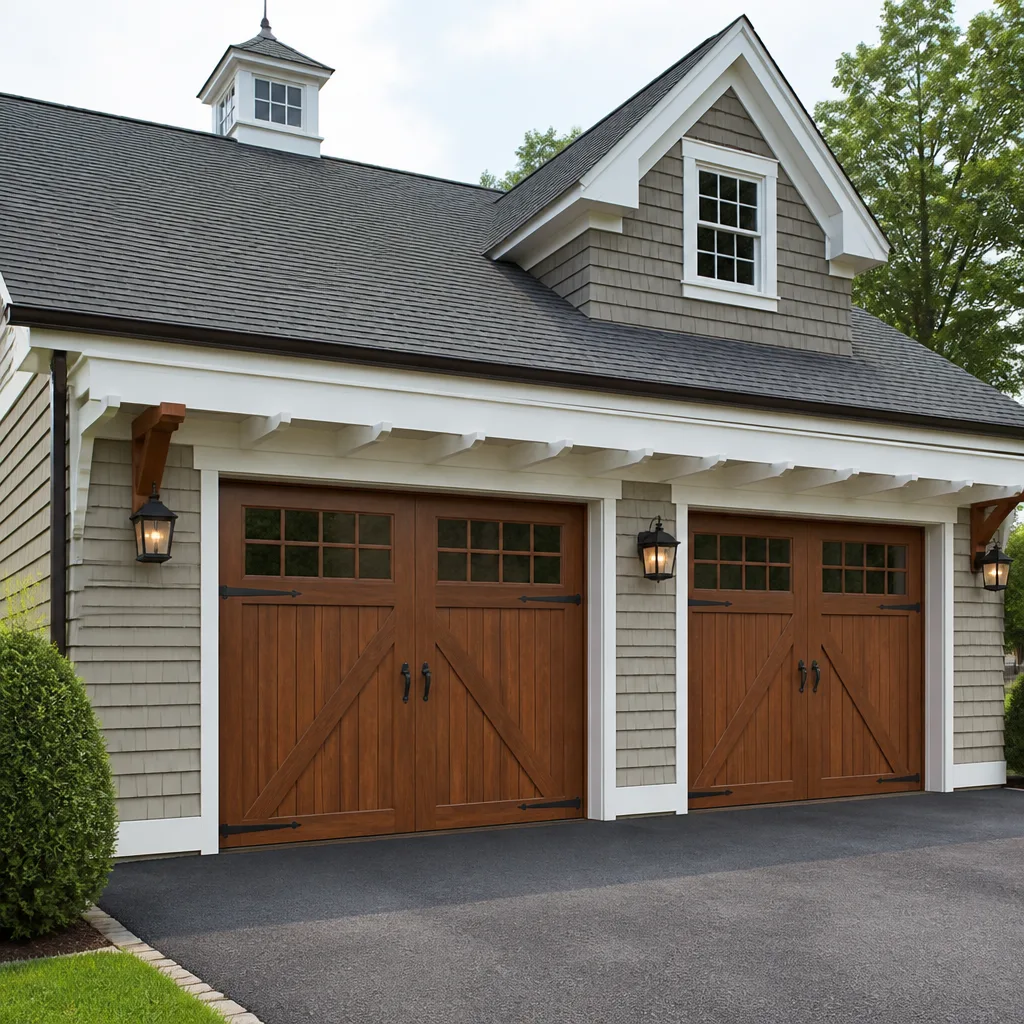 Carriage house
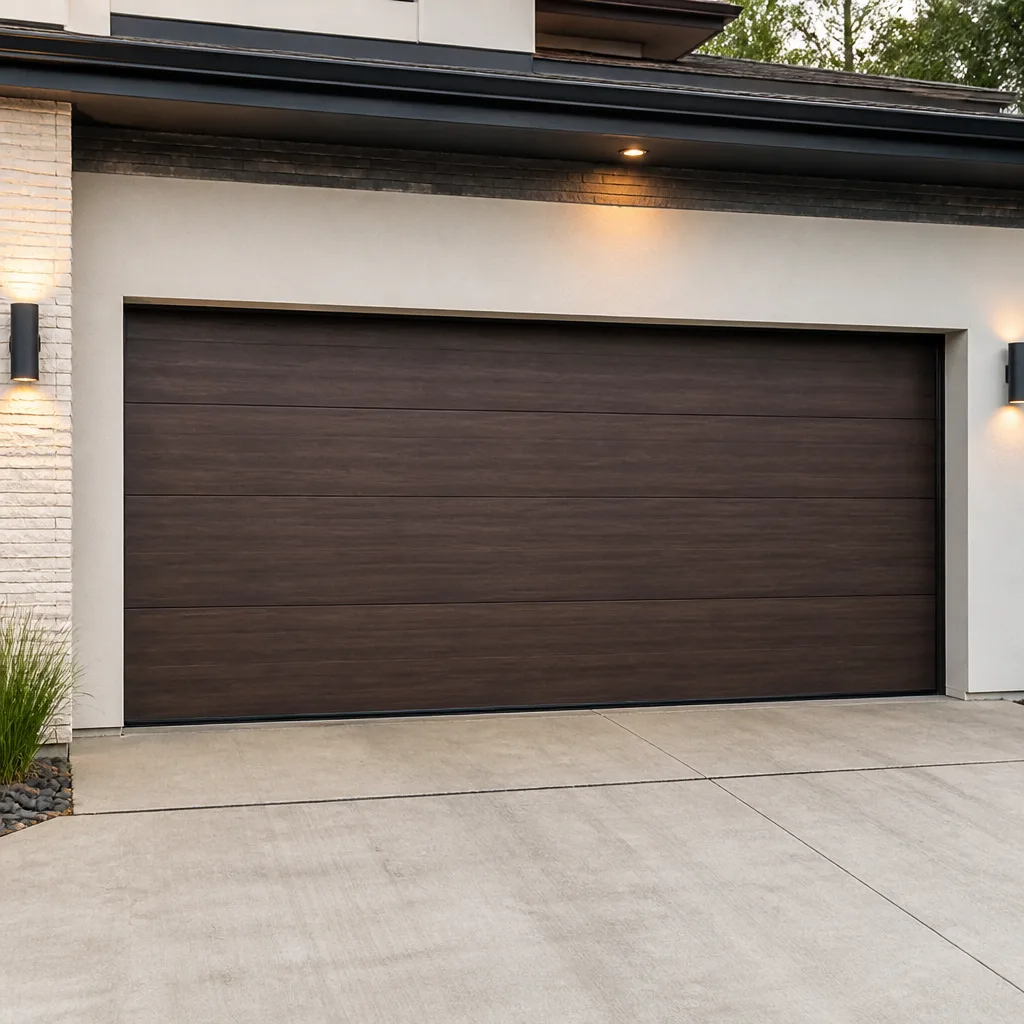 Modern flush
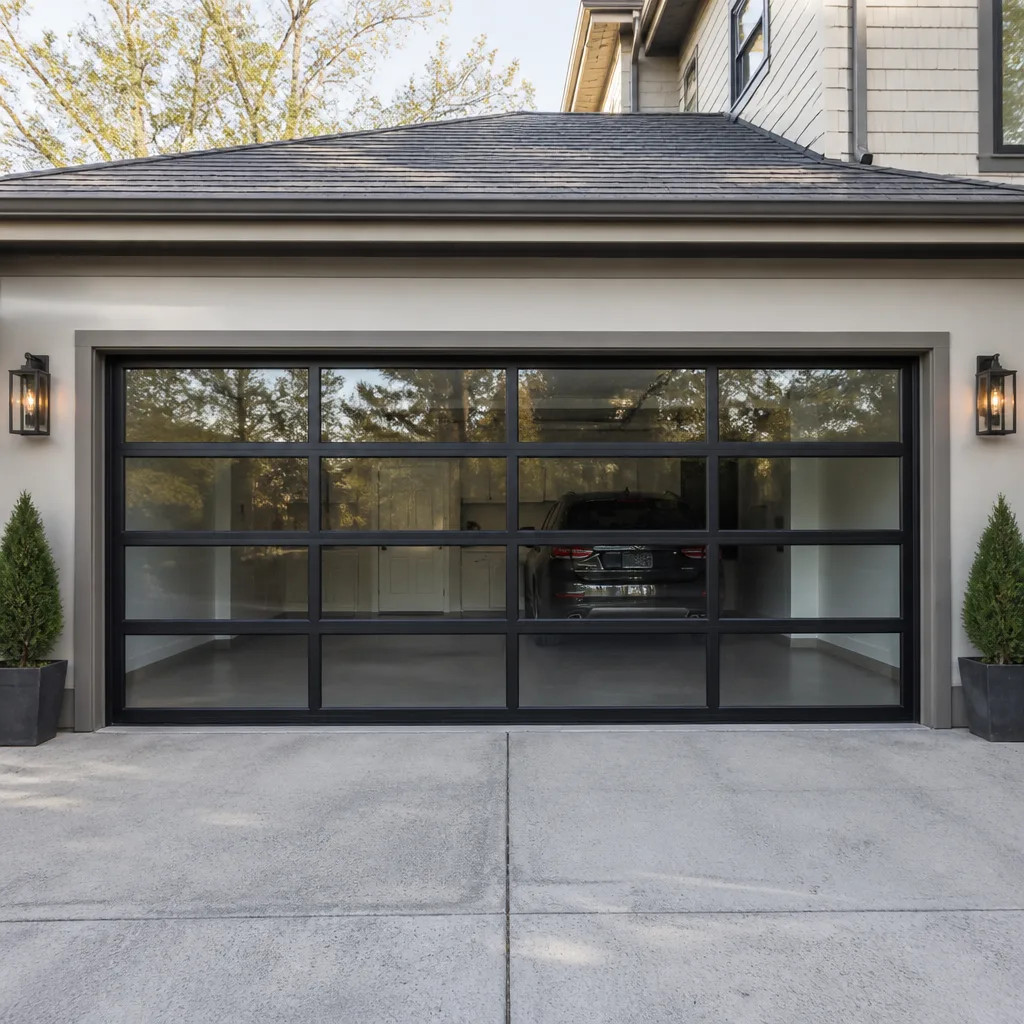 Full-view glass
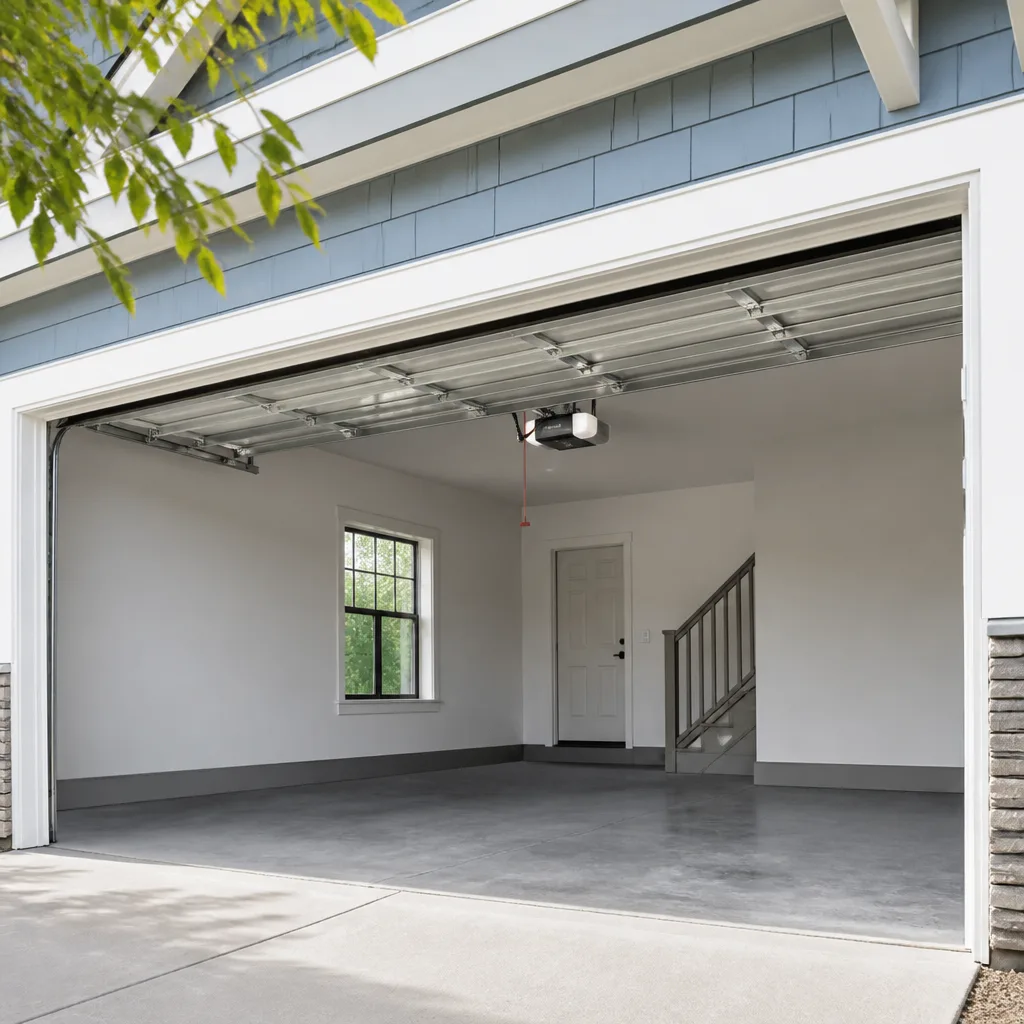 LiftMaster openers
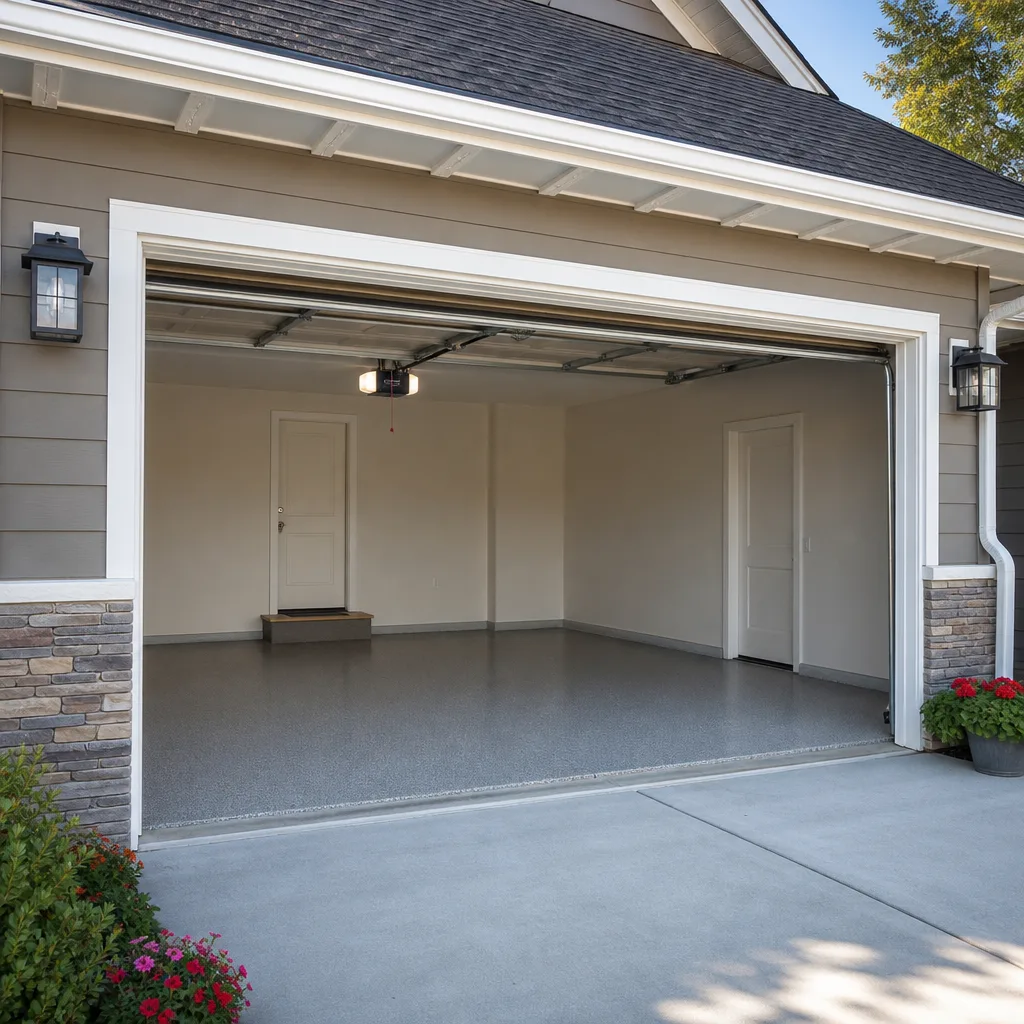 Chamberlain openers
Full 25-point door and opener safety check with every visit - springs, cables, rollers, tracks, and your LiftMaster or Chamberlain opener included
You get a price before we start. It does not change when the truck arrives.
Get your free estimateDIY vs Professional Garage Door: The Santa Clarita Homeowner’s Decision Guide
Every year, roughly 20,000 Americans end up in emergency rooms from garage door injuries, and the majority involve the torsion spring: the thick coiled spring mounted above the door that bears most of the lifting load. That spring stores enough energy to shear bone when it releases suddenly. Here’s the counterintuitive part: the injuries rarely happen to careless people. They happen to careful people who didn’t know which tasks carry risk that patience and a YouTube tutorial cannot eliminate. This guide draws that line task by task, so you know exactly what you can handle in your Santa Clarita garage and what should go to a professional before you touch a single bolt.
Quick Answer
Most garage door maintenance tasks are genuinely DIY-safe: lubricating rollers, tightening bolts, replacing weatherstripping, and reprogramming remotes. Torsion spring replacement, cable replacement under tension, and opener replacement involving structural brackets are not. For Santa Clarita homeowners, the practical rule is this: if the component stores or transfers lifting energy, hire a professional. If it rides along passively, you can probably do it yourself.
Styles & brands we work with
Table of Contents
- The Physics: Why Spring Work Is Different
- Task-by-Task Breakdown: DIY-Safe, DIY-Risky, Professional-Only
- Tools You’ll Actually Need for DIY-Safe Tasks
- What a DIY Error Costs to Fix Professionally
- Three Tasks Where California Law or Warranty Terms Force the Decision
- How to Compare a Professional Quote Against True DIY Cost
- Santa Clarita Specifics: Climate, Code, and Local Market Reality
- Common Mistakes to Avoid
The Physics: Why Spring Work Is Different
Most home repair decisions come down to skill, patience, and tool availability. Garage doors are different because one component defies that logic. The torsion spring does the heavy lifting: a typical double-wide door weighs 150 to 250 pounds, and the spring counterbalances that weight so a small electric opener can move it. That spring is wound under tension when the door is closed. A 200-pound door might mean the spring holds 200 pounds of stored force, coiled and waiting.
When a spring fails, that energy has to go somewhere. If it goes into the winding tool, the tool becomes a projectile. If it goes into the spring itself, the broken section whips outward fast enough to fracture an arm or hand. This is not a liability disclaimer from a contractor protecting its market. It is the reason every spring manufacturer stamps replacement instructions with professional-installation language and the reason spring work is categorically not a DIY task regardless of how many tutorials claim otherwise.
In Santa Clarita, the climate adds a second factor. Summer temperatures regularly push past 100 degrees in Valencia, Canyon Country, and Saugus. Steel components expand and contract through these cycles, and springs rated for roughly 10,000 open-close cycles fatigue faster in that heat. A spring that would last nine years in coastal air might fail in five or six here. When it does, the homeowner’s decision is not “can I fix this” but “should anyone without proper winding equipment and experience touch it.” The answer is no.
What about the extension springs on older doors, the long springs running along the horizontal tracks? They store energy differently, but the failure mode is the same. When one snaps, the released kinetic energy turns the spring into a metal whip. People have lost eyes this way. The old-school safety cables threaded through extension springs help contain the spring, and many Santa Clarita homes built in the 1980s and 1990s still have extension spring systems. If you have one and the safety cable is missing or frayed, that is a professional replacement, not a weekend project.
Task-by-Task Breakdown: DIY-Safe, DIY-Risky, Professional-Only
Here is the list most contractor websites never publish: an honest categorization of common garage door jobs. We built this from what we see in Santa Clarita homes, not from a desire to protect revenue. We’d rather tell you how to avoid calling us for something you can handle than show up for a job you shouldn’t have attempted.
DIY-Safe Tasks
- Lubricating rollers, hinges, and springs. White lithium grease on hinges and rollers, garage door lubricant spray on springs. This takes 15 minutes, requires zero specialty tools, and extends component life meaningfully in Santa Clarita’s dry, dusty climate. Do it twice a year.
- Tightening loose bolts and brackets. Garage doors cycle hundreds of times per month. Vibration loosens hardware. A socket set and ten minutes with the door in the closed position resolves most cases. The caveat: do not touch the bolts that anchor spring brackets. Those are not “loose hardware” problems; they are spring system components.
- Replacing bottom weatherstripping. The rubber seal along the bottom of the door. It slides into an aluminum channel on most doors. Buy the T-shaped seal that matches your door model. In Santa Clarita, dry rot and UV exposure break this seal every three to four years.
- Reprogramming remotes and keypads. LiftMaster, Chamberlain, Genie, and Craftsman openers all have a “Learn” button sequence detailed in the owner’s manual. If the manual went missing, the manufacturer hosts PDFs online. This requires no tools and no risk.
- Cleaning and aligning photo-eye sensors. The small sensors near floor level on either side of the door opening. Dust, cobwebs, and the occasional grass clipping from a blower can block the beam and cause the door to refuse to close. Wiping them down and ensuring they point at each other fixes most intermittent issues.
DIY-Possible-With-Caution Tasks
- Replacing a single broken roller. If the roller itself snaps or cracks but the surrounding hardware is intact, and the broken roller is on the vertical track near the bottom, a careful homeowner can remove it and install a replacement. The risk: any time you release a roller from the track, the door’s tension system is the only thing holding it in place. If that system is compromised, the door can shift suddenly. We advise only doing this with the door fully closed on the ground, and only if you can see that the other rollers on that panel are intact.
- Adjusting opener travel limits. Openers have dials or buttons that control how far the door travels before stopping. If your door doesn’t close flush against the ground or reverses too soon, a small adjustment can fix it. The risk is minimal if you make quarter-turn or one-step adjustments at a time and test after each change. The mistake we see: people crank the adjustment dial several turns at once, then the door drives through the track end and bends a bracket.
- Replacing a wall button or remote battery. Straightforward electrical work, but only if you know the opener model. Chamberlain and LiftMaster wall controls use low-voltage wiring; never touch the power cord side of the opener while the unit is plugged in.
Professional-Only Tasks
These are the jobs where an injury from the stored-energy components is not an edge case. It is the designed failure mode.
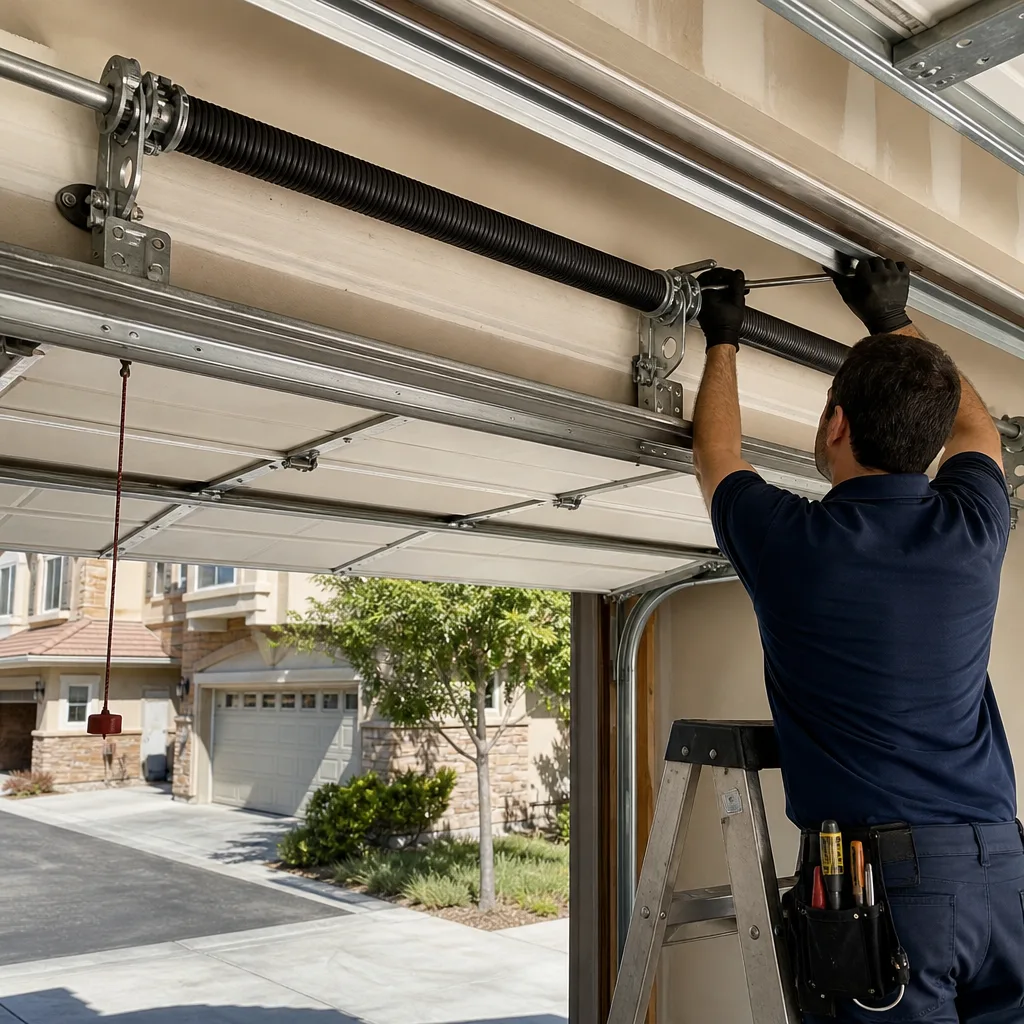
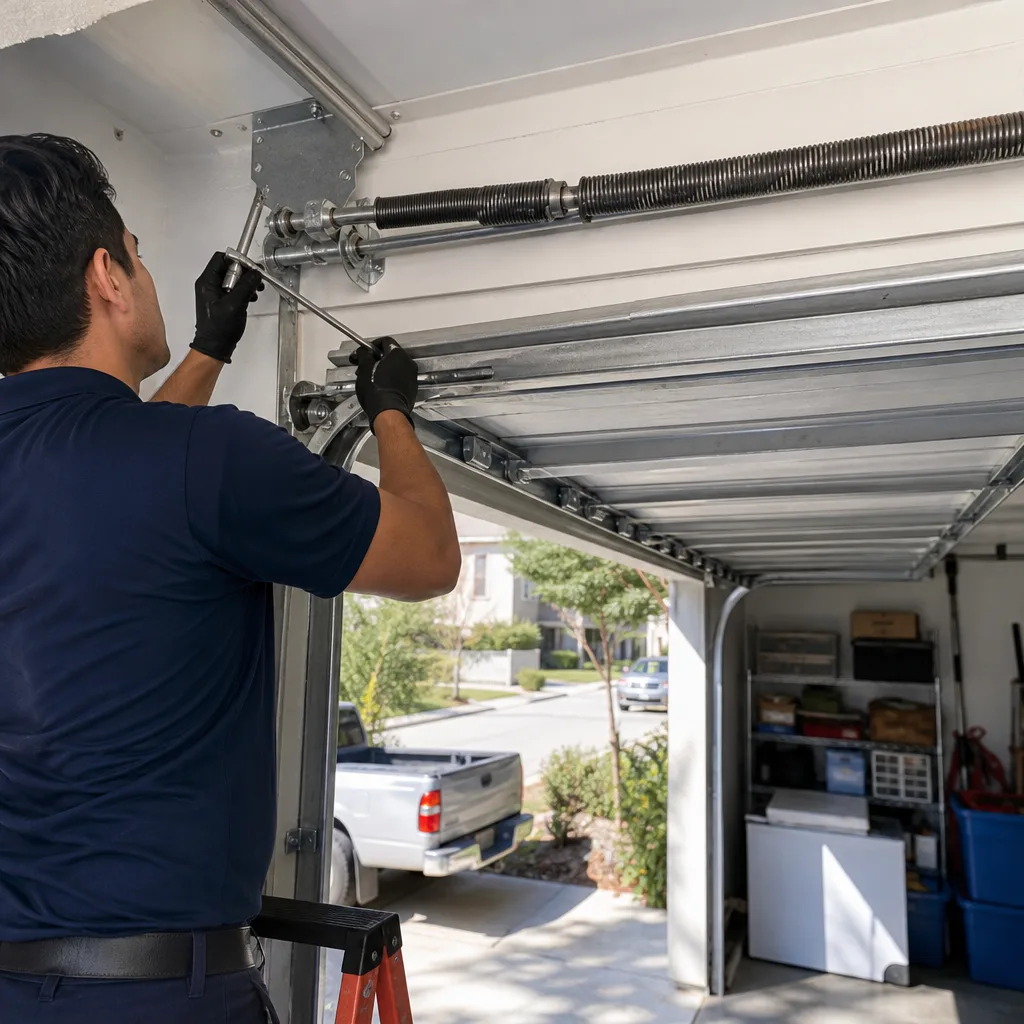
- Torsion spring replacement. The spring that counterbalances the door weight. This is the one. No tool rental, no tutorial, no amount of caution changes the physics. Professional winding bars are a start, but the difference between success and a trip to urgent care is experience with the exact way these springs load and unload.
- Extension spring replacement. As noted above: the failure mode is a fast-moving steel whip. Replacements must be paired for balance, and the safety cable must be installed correctly through the new spring. We handle Garage Door Repair in Santa Clarita calls from homeowners who attempted this and now have a bent track or a damaged panel on top of a snapped spring.
- Cable replacement. Cables run from the spring system down to the bottom brackets. They carry the same lifting tension as the springs they connect to. A frayed cable on a torsion system means that cable is about to release suddenly. A slack cable on one side means the spring system is unbalanced. Neither condition is safe to correct without releasing the spring tension first, which is the professional-only step. For detailed work here, see our Garage Door Cable Repair in Santa Clarita page.
- Opener replacement involving structural brackets or electrical wiring. Replacing the opener motor unit itself can be done by a skilled homeowner if the mounting brackets, wiring, and door balance are all in good condition. If any of those three are not, or if you’re unsure whether they are, the job shifts into professional territory. A door that’s out of balance puts uneven load on the new opener and burns out the motor. We cover this in depth on our Garage Door Opener Repair in Santa Clarita page.
- Panel replacement on a double-wide door. Panels are heavy. A double-wide panel can weigh 100 to 150 pounds. Removing one changes the door’s balance point, which means the spring system must be recalibrated. Without that recalibration, the door can slam shut when released. That is not a risk to take in a garage where kids and vehicles move through daily.
- Track realignment on a door that has come off its rollers. If a door has jumped the track, something happened. Either a roller broke, a bracket bent, a spring failed, or an impact knocked the door. Investigating the root cause involves tension-system work. It is not a matter of prying the door back onto the track.
Tools You’ll Actually Need for DIY-Safe Tasks
Before you start any DIY-safe garage door work, check that you have the right tools. Most Santa Clarita homeowners already own what’s needed for the safe tasks. Here is the complete toolkit for the jobs above:
- Socket and wrench set, 3/8-inch drive. For tightening hardware. Most garage door bolts are 7/16, 1/2, or 9/16 inch. A basic set covers all three.
- White lithium grease spray. For hinges and rollers. Do not use WD-40 as a lubricant; it displaces moisture but doesn’t provide long-term lubrication.
- Garage door lubricant spray. Specifically formulated for torsion and extension springs. Sold at hardware stores in Santa Clarita and online for under $10.
- Clean rags and a mild degreaser. For wiping down tracks and removing old, dried lubricant before applying fresh.
- Flathead and Phillips screwdrivers. For photo-eye sensor brackets and wall button housings.
- A step ladder. For reaching the torsion spring tube and upper rollers. Never stand on the opener rail or use a chair.
- Replacement weatherstripping. Match the profile of your existing seal. Take a small cut sample to the hardware store to match the T-channel width.
One tool you do not need and should not buy: winding bars for torsion springs. Some stores sell them, just as some stores sell brake line flaring kits. Ownership of the tool is not the barrier. The barrier is the judgment about when the spring is loaded, unloaded, or about to unload unexpectedly. If you find yourself reading the word “winding” in a tutorial, stop reading and call a professional.
What a DIY Error Costs to Fix Professionally
This is the section most DIY-vs-professional guides skip: the downside calculation. A homeowner looks at a $20 part and a Saturday afternoon and sees savings. A professional looks at the same job and sees the failure path. Here are the real numbers from Santa Clarita service calls.
Stripped winding cone on a torsion spring. This happens when a homeowner tries to unwind or wind a spring and the cone strips because the winding bar wasn’t inserted fully or the wrong size bar was used. Fixing this means replacing the entire spring, not just the cone. Cost: $180 to $340 for a standard residential torsion spring replacement. The DIY attempt just turned a $0 repair (because the spring may not have actually needed replacement yet) into a mandatory part purchase.
Cable snapped during a roller replacement attempt. When the door shifts during a partial disassembly, a cable under tension snaps. Now you have a door hanging on one cable, a broken spring balance, and a panel misaligned in the track. Professional cost to correct: $150 to $275 for cable replacement, plus the door realignment. Total often lands between $300 and $500. The roller would have cost $12.
Opener motor burned out from a door that wasn’t balanced. A homeowner installs a new opener and doesn’t address the tired springs underneath. The opener works harder against the unbalanced door, runs hot, and fails within a year. The $250 opener is now a second purchase, plus spring replacement at $180 to $340, plus labor. In Santa Clarita heat, this failure mode is accelerated because motors already run warmer in unconditioned garages.
Track bent from a door driven into a hard stop. This comes from those “one more turn” travel limit adjustments. The door reaches the end of the track, the opener keeps pushing, and the track bends. Professional track straightening or replacement: $120 to $250. The travel limit adjustment was usually a two-minute free fix.
The framework for a good DIY decision is not “how likely am I to make this mistake.” It’s “what does the mistake cost if I make it.” For lubrication or sensor cleaning, the error cost is near zero. For anything involving the spring-cable-tension triad, the error cost starts at a few hundred dollars and climbs, before considering injury. That math points one way.
Three Tasks Where California Law or Warranty Terms Force the Decision
Some garage door decisions aren’t decisions at all. Three situations remove the DIY option entirely, either through state law or manufacturer warranty language.
1. Opener installation where the manufacturer requires certified installation for warranty coverage. LiftMaster, Chamberlain, and Genie warranties in most models require installation by a qualified professional for the full warranty period to apply. A homeowner installing the same unit may see the warranty reduced or voided for the motor and gear assembly. Read the warranty card before you buy the opener. If professional installation is a condition, the question is settled.
2. Any repair involving the garage door’s safety reverse system. California law requires garage door openers to have a functioning auto-reverse mechanism that stops and reverses the door when it encounters resistance. The federal standard has existed since 1993, but California’s provisions in state building codes add enforcement layers. If your opener’s safety reverse is not functioning and you replace a component rather than repairing the reverse mechanism properly, you may be liable if someone is injured. This is not a “check the sensor” situation; it’s a “the door has to be tested with a calibrated measure of force” situation. Professionals carry the test equipment and the code reference.
3. New door installation in Santa Clarita neighborhoods with strict CC&R oversight. Several master-planned communities, including newer developments in Valencia and sections of Stevenson Ranch, have CC&Rs that govern exterior appearance and may require licensed installation for modifications. A self-installed door that violates a CC&R design requirement creates a compliance headache that a permitted professional installation would have avoided. Check your HOA documents before ordering a new door.
How to Compare a Professional Quote Against True DIY Cost
Here is a straightforward comparison framework we recommend to every Santa Clarita homeowner weighing DIY against a professional quote. It requires honesty about four cost categories.
- Parts cost: the thing you know about. This is the price of the spring, cable, roller, or seal at retail. For a torsion spring, expect $50 to $90 for the part itself if you could buy it over the counter at a distributor, which most will not sell to non-contractors. For cables and rollers, the parts are cheap: $10 to $30. This is the number DIY tutorials quote.
- Tool cost: the thing tutorials conveniently forget. Winding bars: $20 to $40 if you find them retail. But the real tool cost is the specialty equipment you’d only use once. For spring work, that’s not a $40 purchase; that’s the cost of an urgent care visit if it goes wrong. For opener rail installation, it’s a laser level you’ll never use again. Add the tools you don’t already own at retail cost, then divide by one, because you’re buying them for this one job.
- Time cost: your Saturday, plus the second Saturday. A professional replaces a torsion spring in under an hour. A first-time homeowner attempting the same task at the rate of tutorial-pause-rewind will spend four to six hours, assuming no errors. Your time has value. Five hours of your Saturday at any reasonable hourly rate usually exceeds the labor line on a professional invoice for the same repair.
- Risk cost: the one you can’t put a receipt to. This is the category that doesn’t show up on any spreadsheet. It includes the probability-weighted cost of injury, the cost of repairing whatever breaks during the attempt, and the lost nights of wondering whether the spring you didn’t replace is going to fail this week. Professionals price risk differently because they carry insurance and experience. Homeowners price risk with their hands and their evenings.
Here’s how the arithmetic usually lands. Add parts, tools, time value, and an honest risk assessment. Compare that total to a professional quote. For DIY-safe tasks, the professional quote always loses on cost; that’s why those tasks are DIY. For spring and cable work, the DIY total is almost always higher than a professional quote once risk and error costs are included. This is not a trick of the numbers. It’s the reason the professional category exists.
Santa Clarita Specifics: Climate, Code, and Local Market Reality
Garage door advice written for a national audience often misses what actually applies here. Santa Clarita has a specific set of conditions that change how you should think about garage door maintenance and repair.
Summer heat and spring fatigue. Santa Clarita summers routinely produce stretches above 100 degrees. Springs are steel, and steel fatigues faster when it cycles through wide temperature swings. Expect shorter spring life than the national average. A spring rated for 10,000 cycles may deliver 60 to 70 percent of that in Valencia or Canyon Country. This doesn’t change the repair itself; it changes the inspection interval. If your door is five years old and the springs have never been replaced, schedule a balance check. A professional can test whether the door stays in place when manually opened halfway, the quickest diagnostic for tired springs.
Dust and photo-eye sensors. The Santa Clarita wind pattern kicks up fine dust that settles on the photo-eye sensors near the floor. The most common summer service call we get in Saugus and Newhall is a garage door that won’t close because a dusty sensor is misreading the beam. This is a DIY-safe fix: wipe the sensor lenses with a dry cloth. If the problem persists after cleaning and realignment, that’s when to call.
Garage temperatures and opener motor life. Unconditioned garages in Santa Clarita can hit 110 degrees in August. Opener motors already run warm. If you’re replacing an opener, look for a model with a DC motor and thermal protection. Both LiftMaster and Chamberlain offer this. It is not a gimmick; it is the difference between a motor that survives five Santa Clarita summers and one that dies in three.
Building permit reality. Most garage door repairs do not require a permit in Santa Clarita. Spring, cable, and roller replacements are maintenance work. New door installations where the opening size changes or structural work is involved may. A licensed professional knows where the line sits and can pull a permit if your project requires one. This is not a cost the homeowner pays for fun; it is the difference between a door that passes inspection and a door that becomes a disclosure problem when you sell the house.
Common Mistakes to Avoid
- Attempting spring work because a tutorial made it look calm. The video is edited. The person filming has done this a hundred times. The spring does not know you watched the video.
- Reusing old springs during a door replacement. A new door has a different weight profile than the one it replaces. Old springs are tuned to the old door. Reusing them means the new door will be unbalanced from day one, which strains the opener and leads to premature failure.
- Buying the cheapest spring online without confirming wire size and winding direction. Torsion springs are not universal. They are spec’d by weight capacity, length, wire diameter, and winding coil direction. Installing the wrong spring means an unbalanced door and a spring that fails early. A trained professional can match the spring to the door, not to a clearance price.
- Lubricating the tracks. The tracks that guide the rollers should not be lubricated. Grease in the tracks attracts dust and causes the rollers to bind. Only the rollers, hinges, and springs get lubrication. In Santa Clarita’s dusty air, this mistake accelerates wear rapidly.
- Skipping the balance test after any spring or cable work. Disconnect the opener, move the door halfway up, and release it. The door should stay in place or drift very slowly. If it drops, the springs are not matched to the door. This is a post-repair professional verification step. A homeowner without a recent professional repair should run this test twice a year.
- Ignoring a frayed cable because the door still opens. A cable does not fray slowly and then warn you. It frays, and at some point it snaps. If you see broken strands on the cable, the door is on borrowed time. Call a professional before the failure, not after the door has slammed shut and damaged the panel.
See the difference
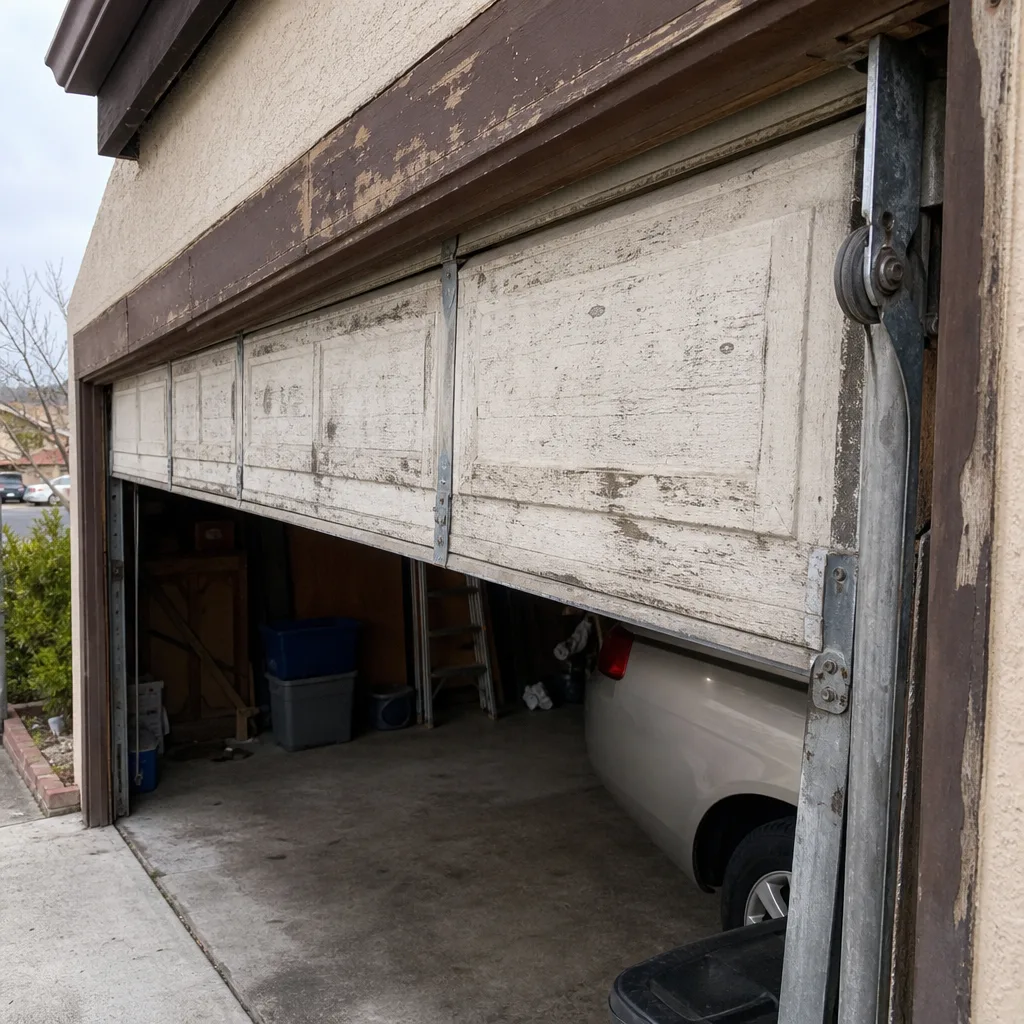 Before
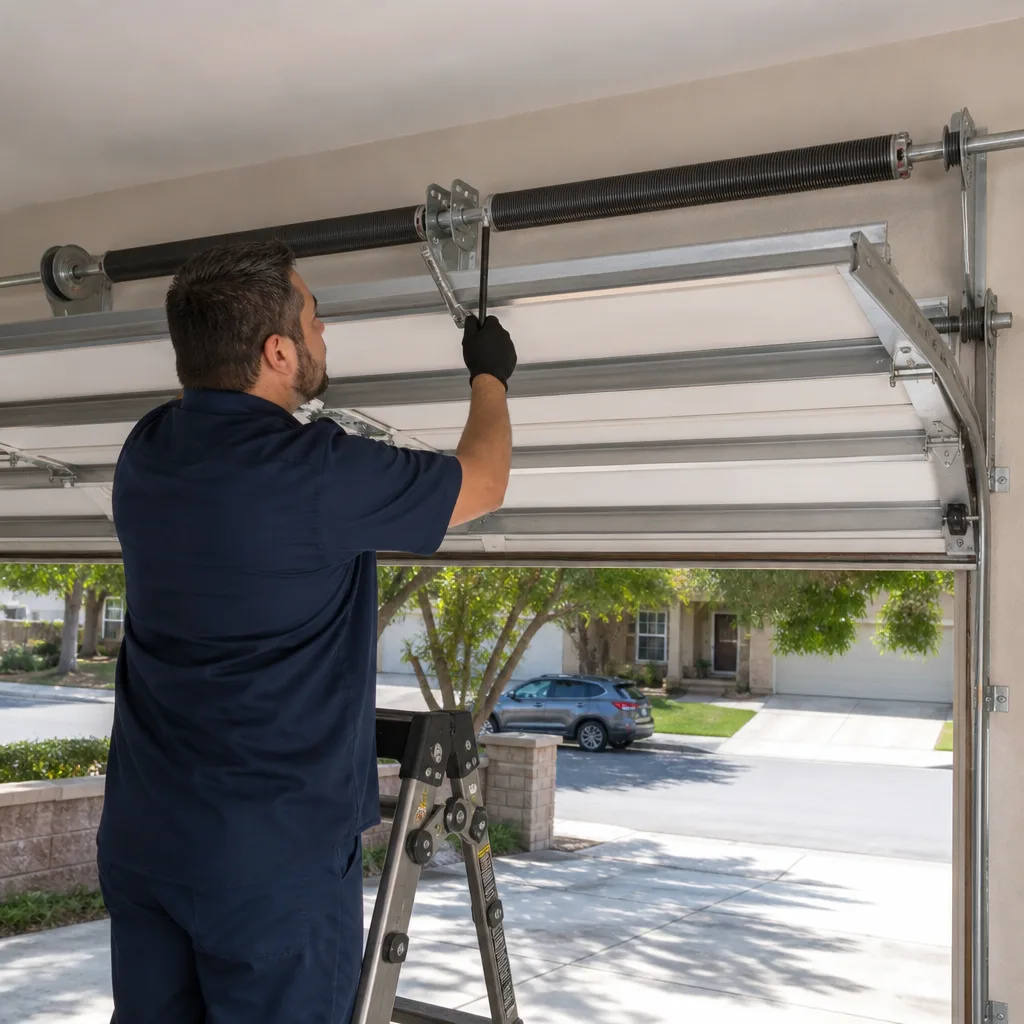 After
After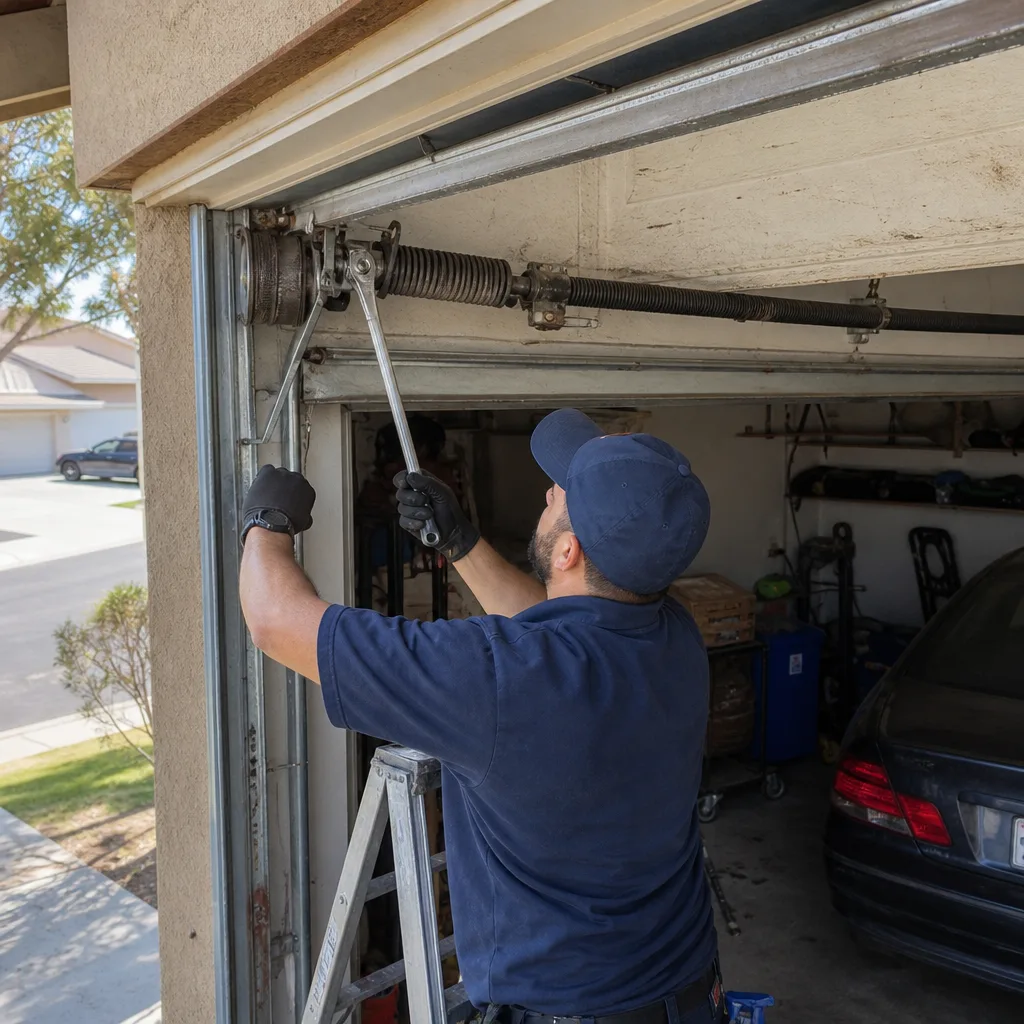 Before
 After
After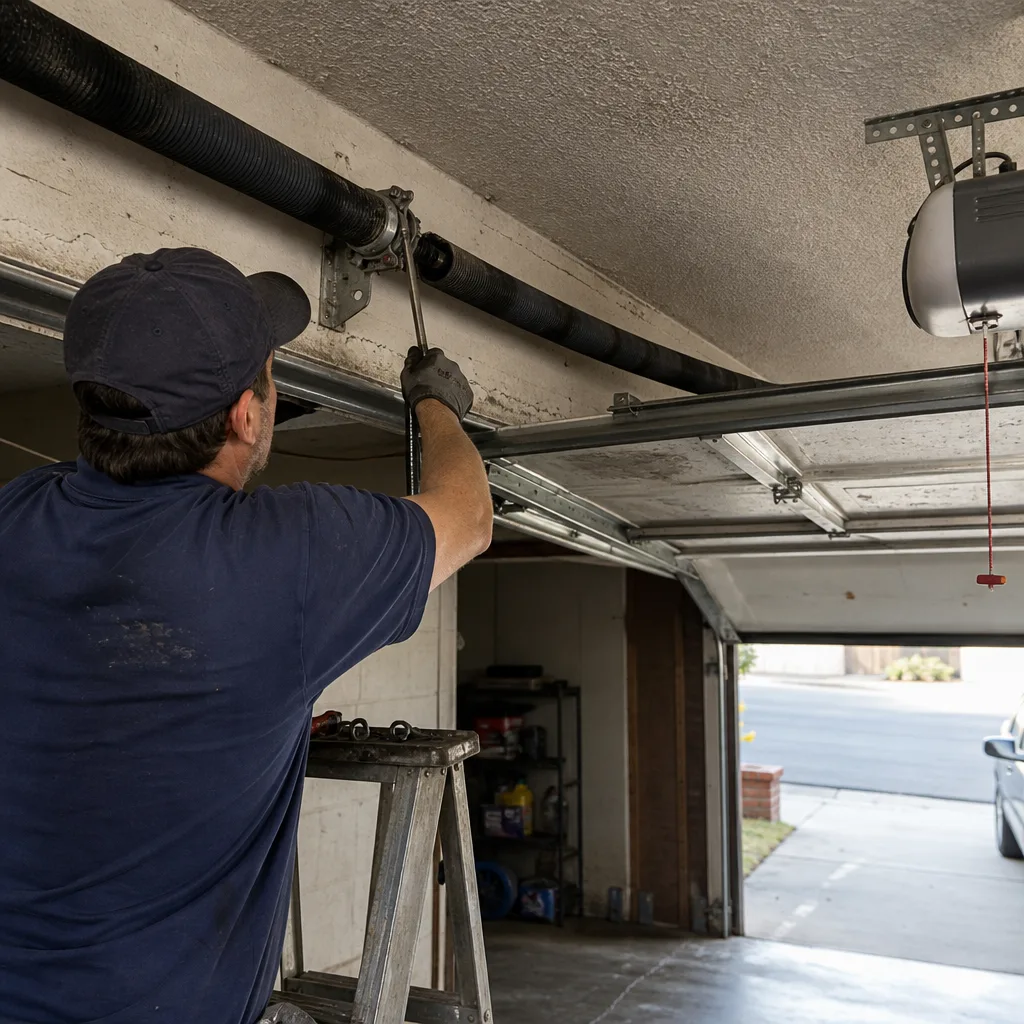 Before
 After
AfterWhen to Call a Professional
If the door is off its track, if you hear a loud snap from the spring area, if you see a visible gap in a torsion spring or broken strands in a cable, or if the door refuses to stay balanced when opened halfway, stop using the door and call. These are not signs of a vague problem. They are specific failure indicators for the high-tension components of your door system. Every time the door cycles in this condition, you’re inviting a bigger repair bill and possibly a safety hazard.
Brock Garage Doors Santa Clarita offers free estimates in Santa Clarita. Call (661) 592-1666 and a live person answers, any hour, any day.
Frequently Asked Questions
No. Torsion and extension springs store enough tension to cause severe injury when released improperly, and professional replacement requires winding tools, experience reading spring balance, and knowledge of matched-pair replacement. This is the one component where “careful” does not close the gap between amateur and professional.
Most torsion spring replacements in Santa Clarita run $180 to $340 per spring, with a matched pair on a double-wide door landing between $250 and $450 total, depending on spring spec and door weight. Extension spring pairs run $120 to $220. The quote is written and agreed before any work starts. Call (661) 592-1666 for an exact number.
You can handle lubrication, bolt tightening, weatherstripping replacement, photo-eye sensor cleaning, and remote programming. These tasks require basic tools, take under an hour combined, and carry no meaningful injury risk. They also extend the life of the components that matter most in Santa Clarita’s heat and dust.
Three signs: a loud bang from the spring area, a visible gap in the torsion spring coil, or a door that drops quickly when released from the halfway point during a manual balance test. Any of these means the spring has failed or is near failure. Stop using the door and call a professional before the door damages itself or someone.
Yes. A live person answers calls 24 hours a day, seven days a week, including holidays, and spring replacements are same-day dispatch in most Santa Clarita neighborhoods. Call (661) 592-1666 and explain what happened; you’ll get a straight answer on scheduling and a written price before any work begins.
No. The written price is handed over before work starts, and the number on the invoice matches the number you approved. The repair is covered in writing for 365 days. If it fails within that window, a technician returns at no additional charge.
The Bottom Line
The DIY versus professional question for garage doors in Santa Clarita is not a test of your handiness. It’s a sorting exercise. Sort tasks by stored energy: no stored energy, safe to do yourself with basic tools; some stored energy, proceed with caution and only if you understand the failure path; high stored energy, hand it to someone whose job is managing that exact energy. That sorting framework will save you money on jobs you can handle and save you from the expensive, dangerous failures you can’t. When the job lands on the professional side of that line, Brock Garage Doors Santa Clarita home has been running to The Garrison Standard since 2001: written price first, work done by the book, site left clean, and every repair covered in writing for a full year.
Call (661) 592-1666 for a free estimate, or browse our full service pages for Garage Door Repair in Santa Clarita, Garage Door Opener Repair in Santa Clarita, and Garage Door Cable Repair in Santa Clarita.
Written by Wade Mercer, Owner at Brock Garage Doors Santa Clarita, serving Santa Clarita since 2001.